Time-Based Instructions: Balloon Dog
SURVEY OF DESIGN | 2019 | DANIEL ZHU
For our third project, we were asked to produce an instructional video explaining how to complete one of 8 tasks. I was assigned the task of making a balloon dog.
Project Constraints:
- Video Length ≤ 60 seconds
- .mov or mp4 file
- 1024 x 768 pixels in size (horizontal)
- No include voice narration or text
- No digital editing, other than splicing clips together (thus, you
cannot add sound separately; it must be recorded in the original shooting)
Things to Keep in Mind (From Design Brief):
- How would you instruct someone to perform the task? What is the story
- To whom are the instructions important? Who would view the instructions?
- In what context are they important?
- What is important to show in the process? How much detail is needed?
- What is important to exclude in the process? What is irrelevant?
- How long should specific steps last?
- What is important to hear during the process?
- What serves as additional, not just redundant, information?
PART I: MAKING A BALLOON DOG
For 10/17/19, we were asked to become familiar with our process of creating each of our objects.
Objectives: To become familiar with creating a balloon dog, to analyze others’ methods and to synthesize my own method based on what works best in my experience.
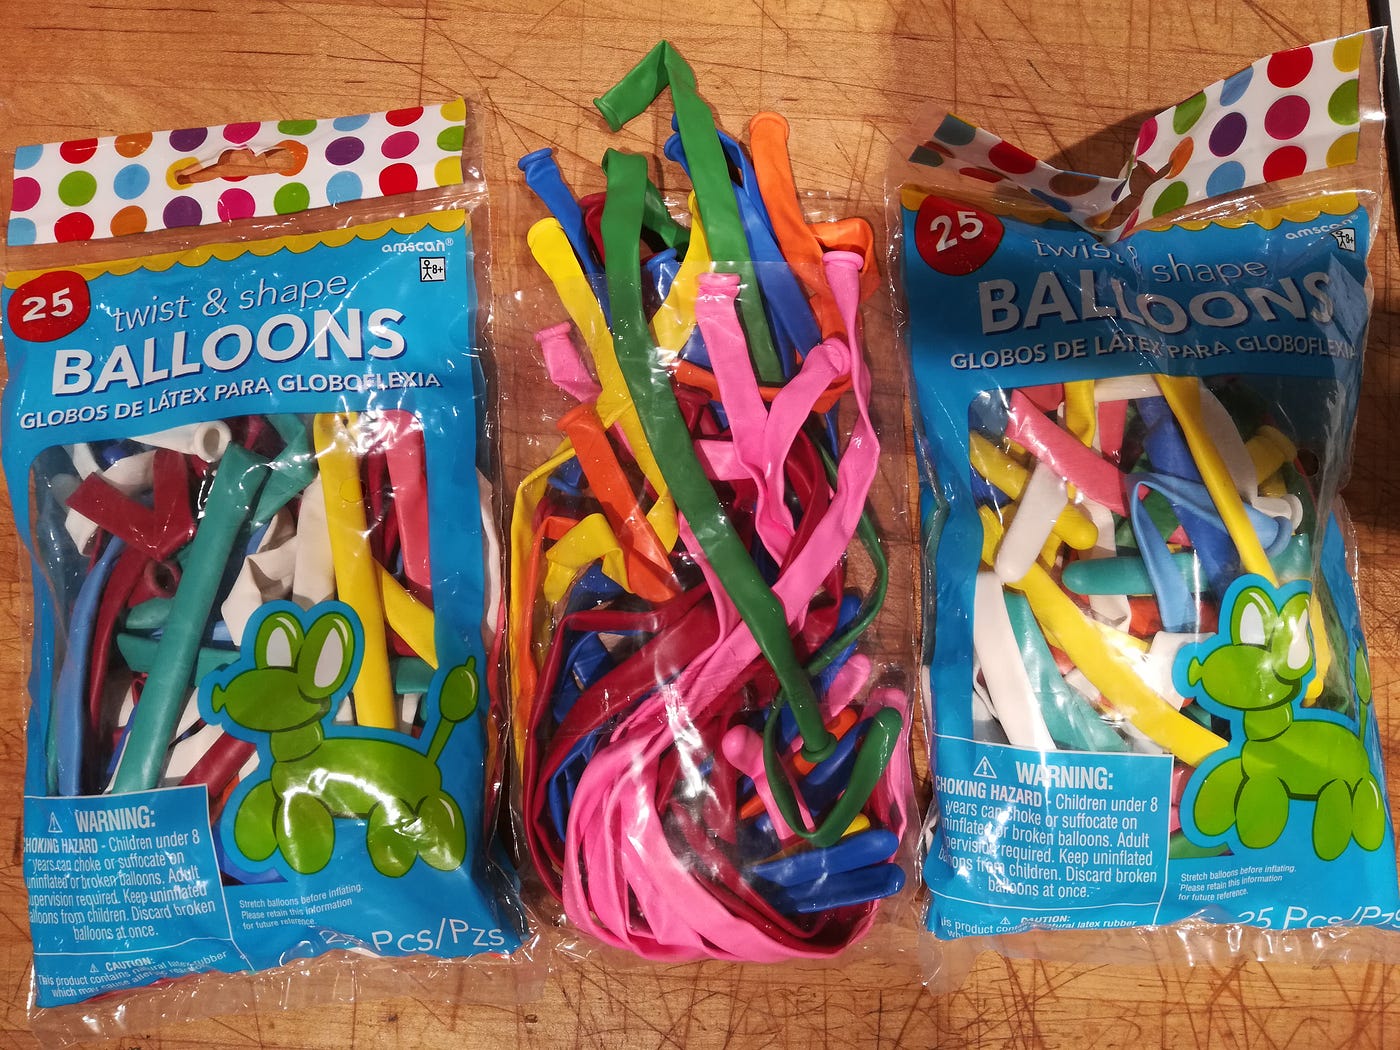
What Balloon to Use: The first step of my research was to determine the types of balloons to use. A quick Google search informed me that twisting balloons were made in thicknesses from 100 to 500, with 260 balloons most commonly used. The Party City I went to, however, did not list their balloon sizes, only labeling them “Twist and Shape Balloons.” However, comparing the thickness of the Party City Balloons to photos led me to conclude that they were most likely 260 balloons.
Researching Methods:
I thought it best to do some research on how others made their own balloon dogs, then synthesize my own approach from the best parts of each method.
This was the first video I stumbled upon:
Second Source:
Balloon Making Attempt 1:
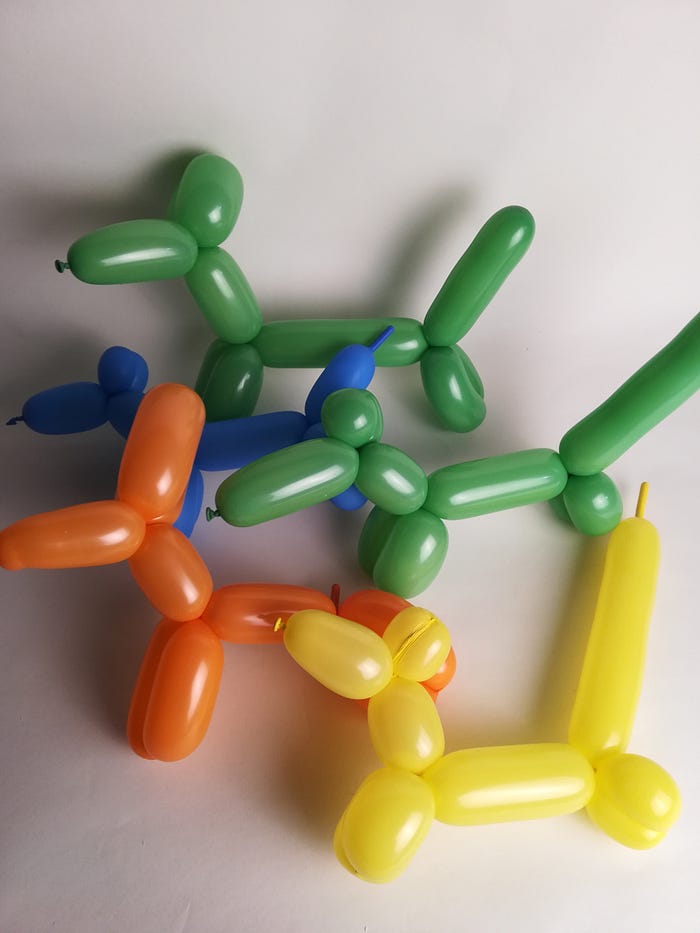
My first attempt at making balloons were informed only by the video.
As you can see, the proportions of the dogs are all off in some way. Most of them have very long tails, short ears and short paws.
I also found that because my nails were too long, I often poked a hole in the balloon as I was tying the stem closed. As a result, my success rate in completing the dog was relatively low, around 50%.
Reflection on Attempt 1 and Video Instructions:
Overall, I found myself unsatisfied with the way that the videos explained the balloon dog making process. Although the videos both gave measurements for where to blow the balloon up to and how much to fold for each segment, I found that the variability in the lengths of the balloons and my lack of a ruler to be a problem. Ultimately, it seemed like both they and I were just eyeballing the measurements, leading me to conclude they learned the proportions through experience.
I wanted to be able to have a more reliable way to get the proportions right.
Figuring out Proportions:
To start, I wanted to figure out the proportions for the most basic balloon dog.
Looking at the top Google images for balloon dogs, I looked at the difference in sizes for each of the segments in the balloon dogs.
To simplify things, I decided to make each segment the same size to reduce confusion that could be introduced by trying make the segments different proportions.
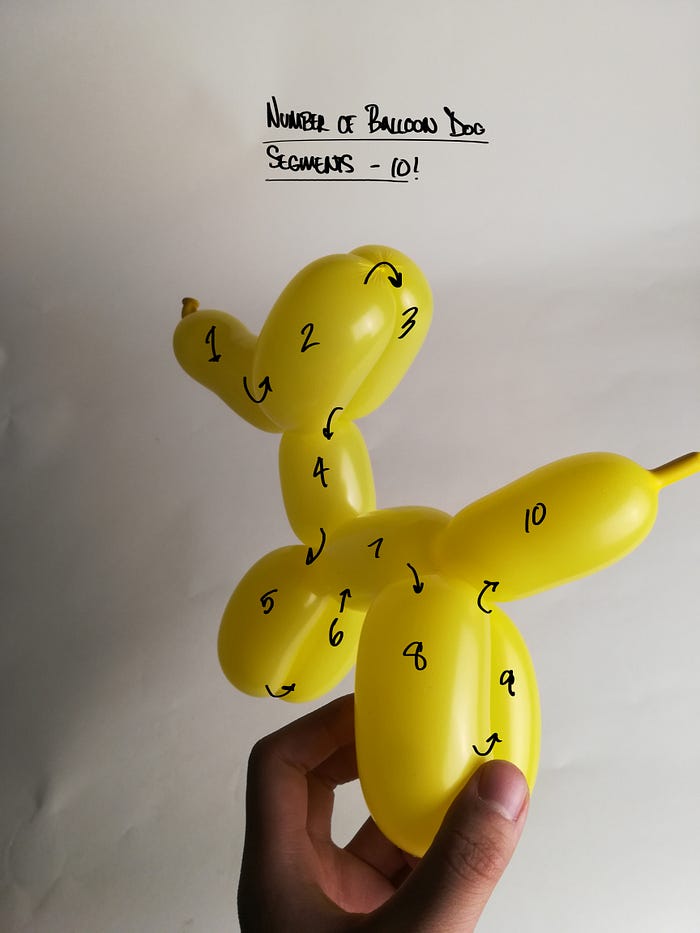
I then counted out the number of segments that had to be made for the balloon dog: 10.
The segment left unfilled at the end appears to be usually the length of 1/2 a segment.
For now, I haven’t worked out a way to reliably divide up the segments of the balloon reliably without a ruler or some other device. However, I believe that working out the segments in a rough fashion will help for now.
In my experimentation, I also found that folding the second leg of each pair against the first before twisting it helps with keeping the leg sizes the same.
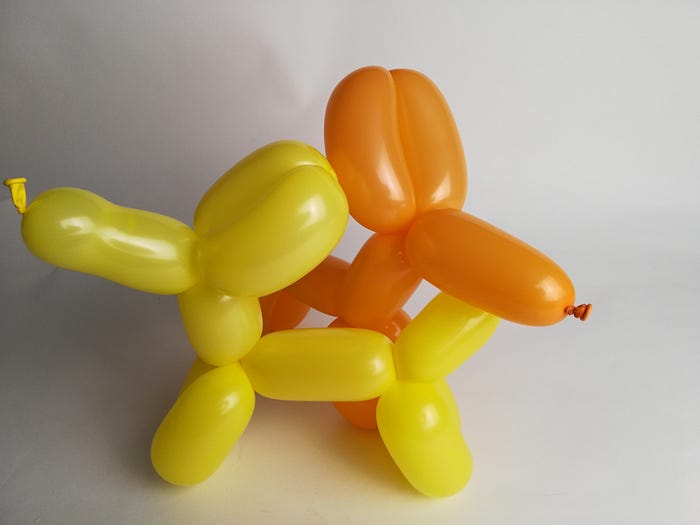
After these reflections, I was able to produce a few dogs with slightly more accurate proportions:
Creation Process:


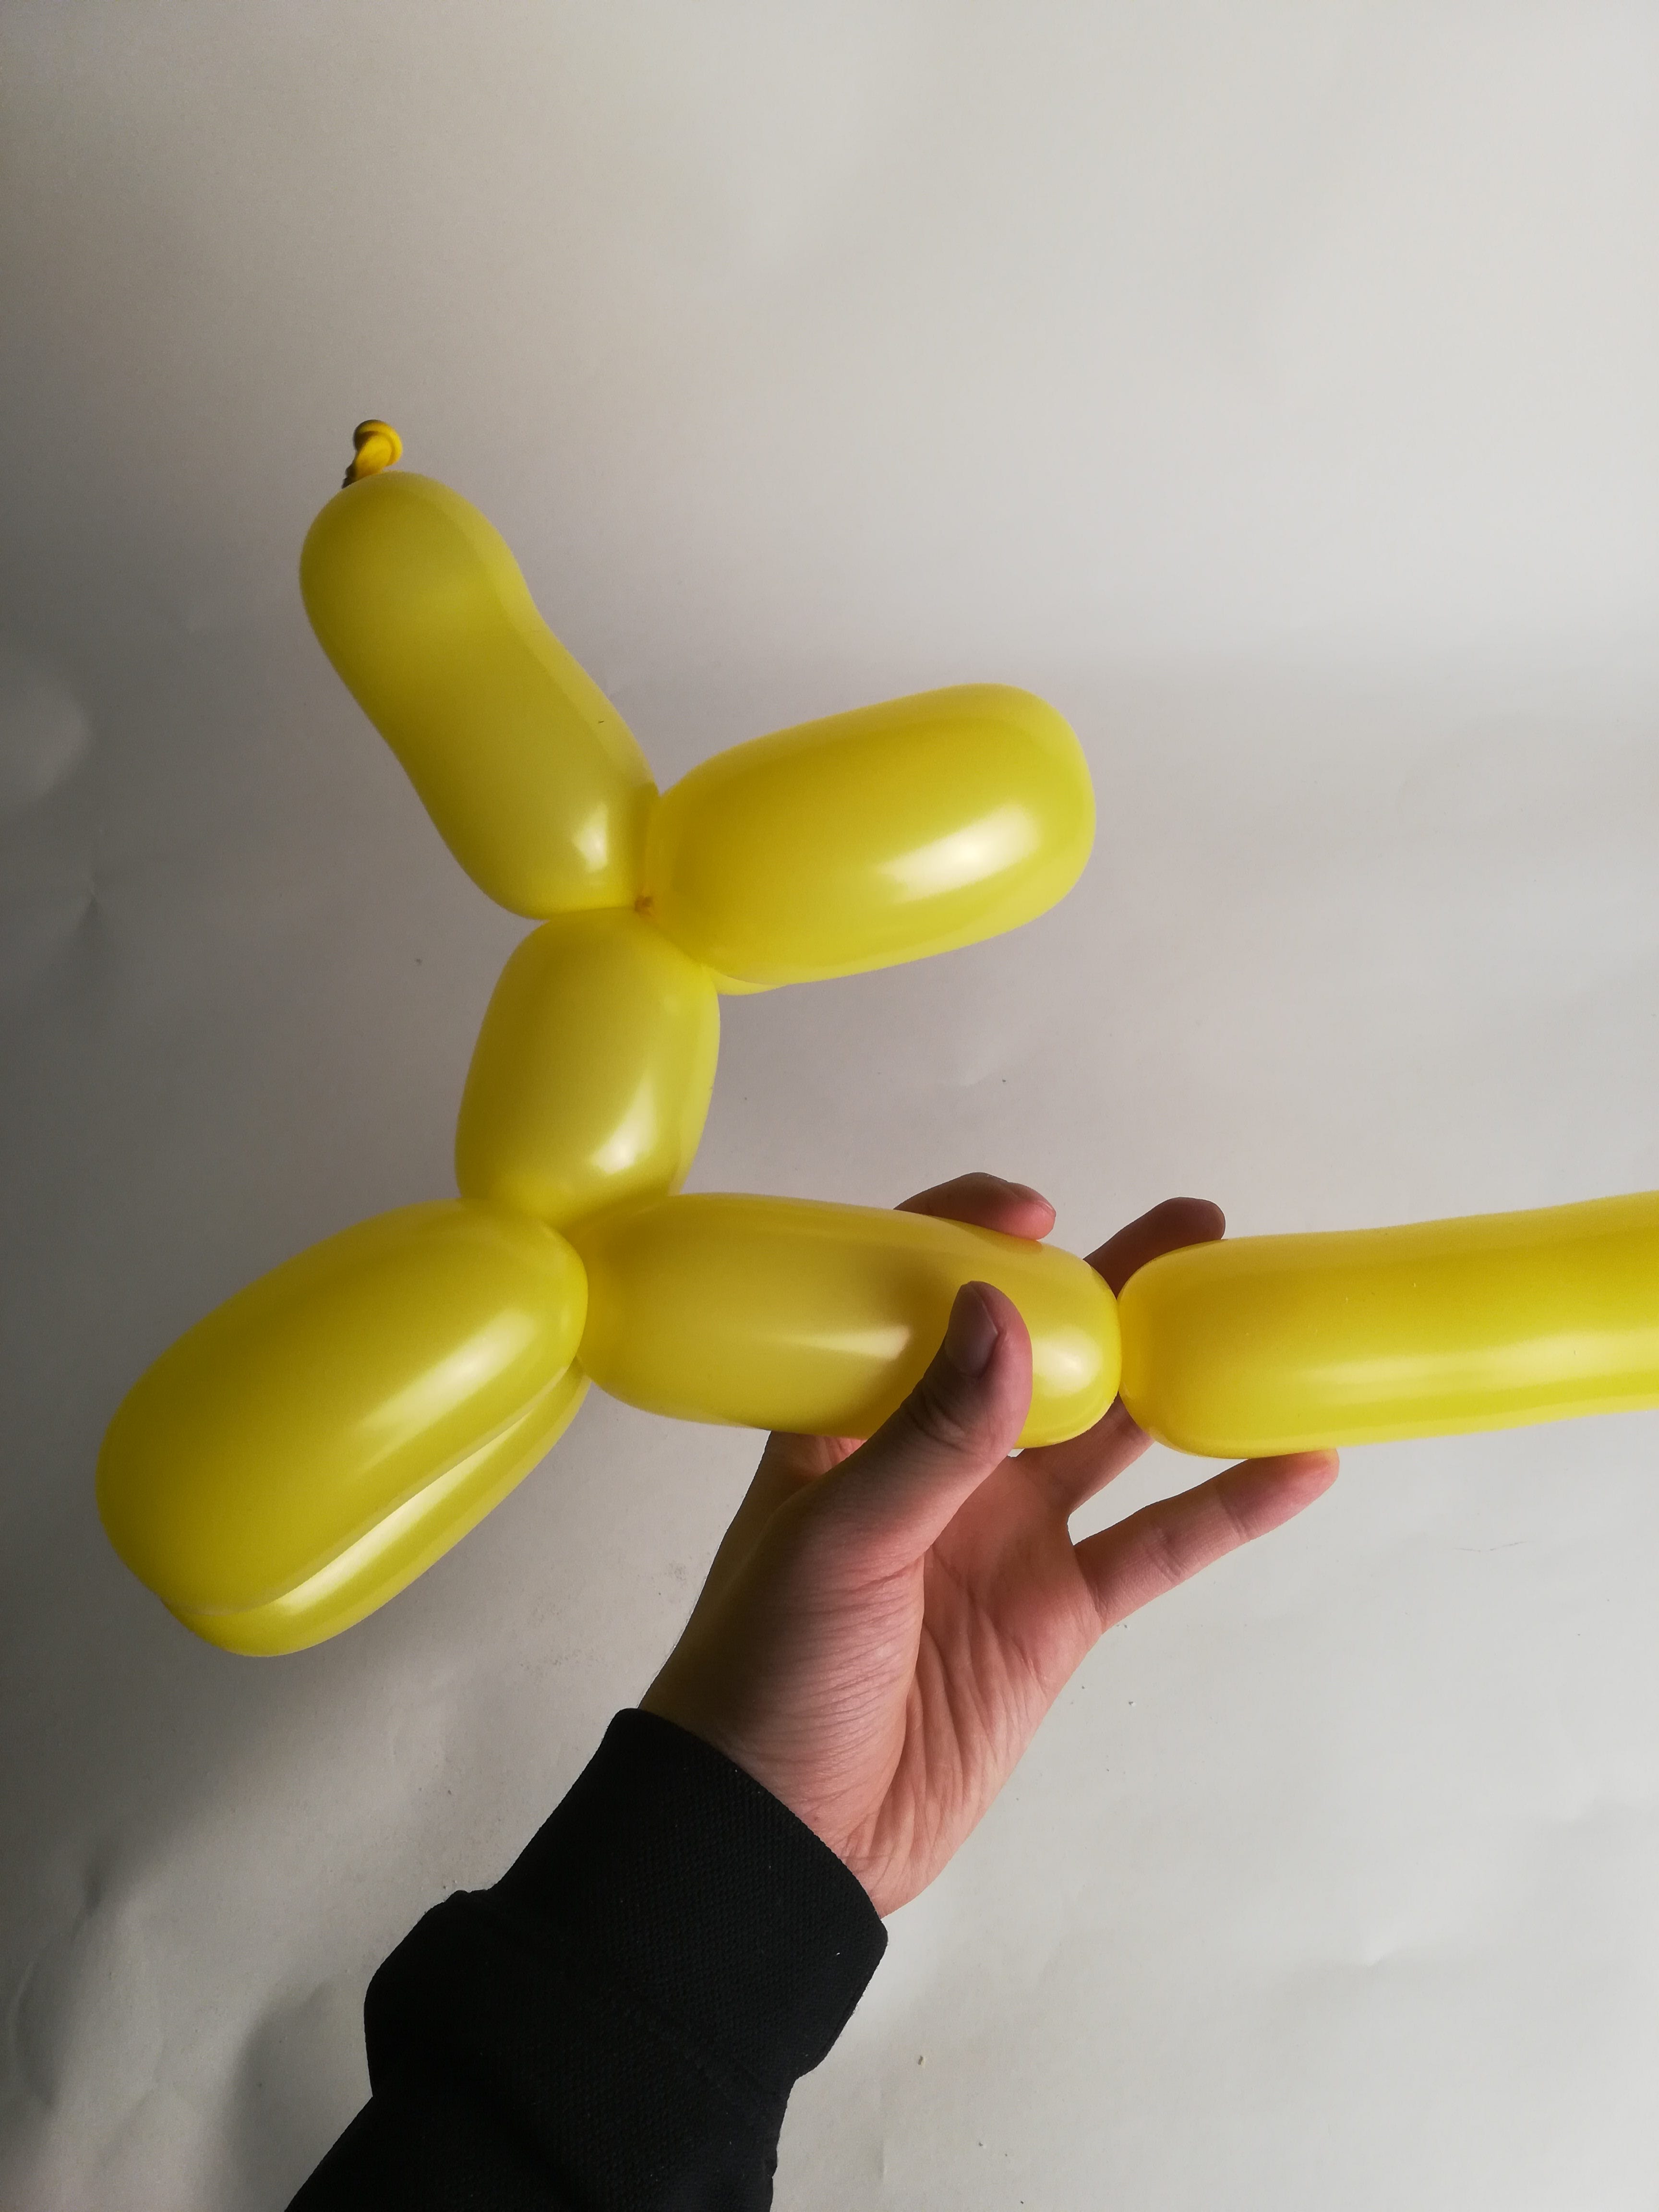

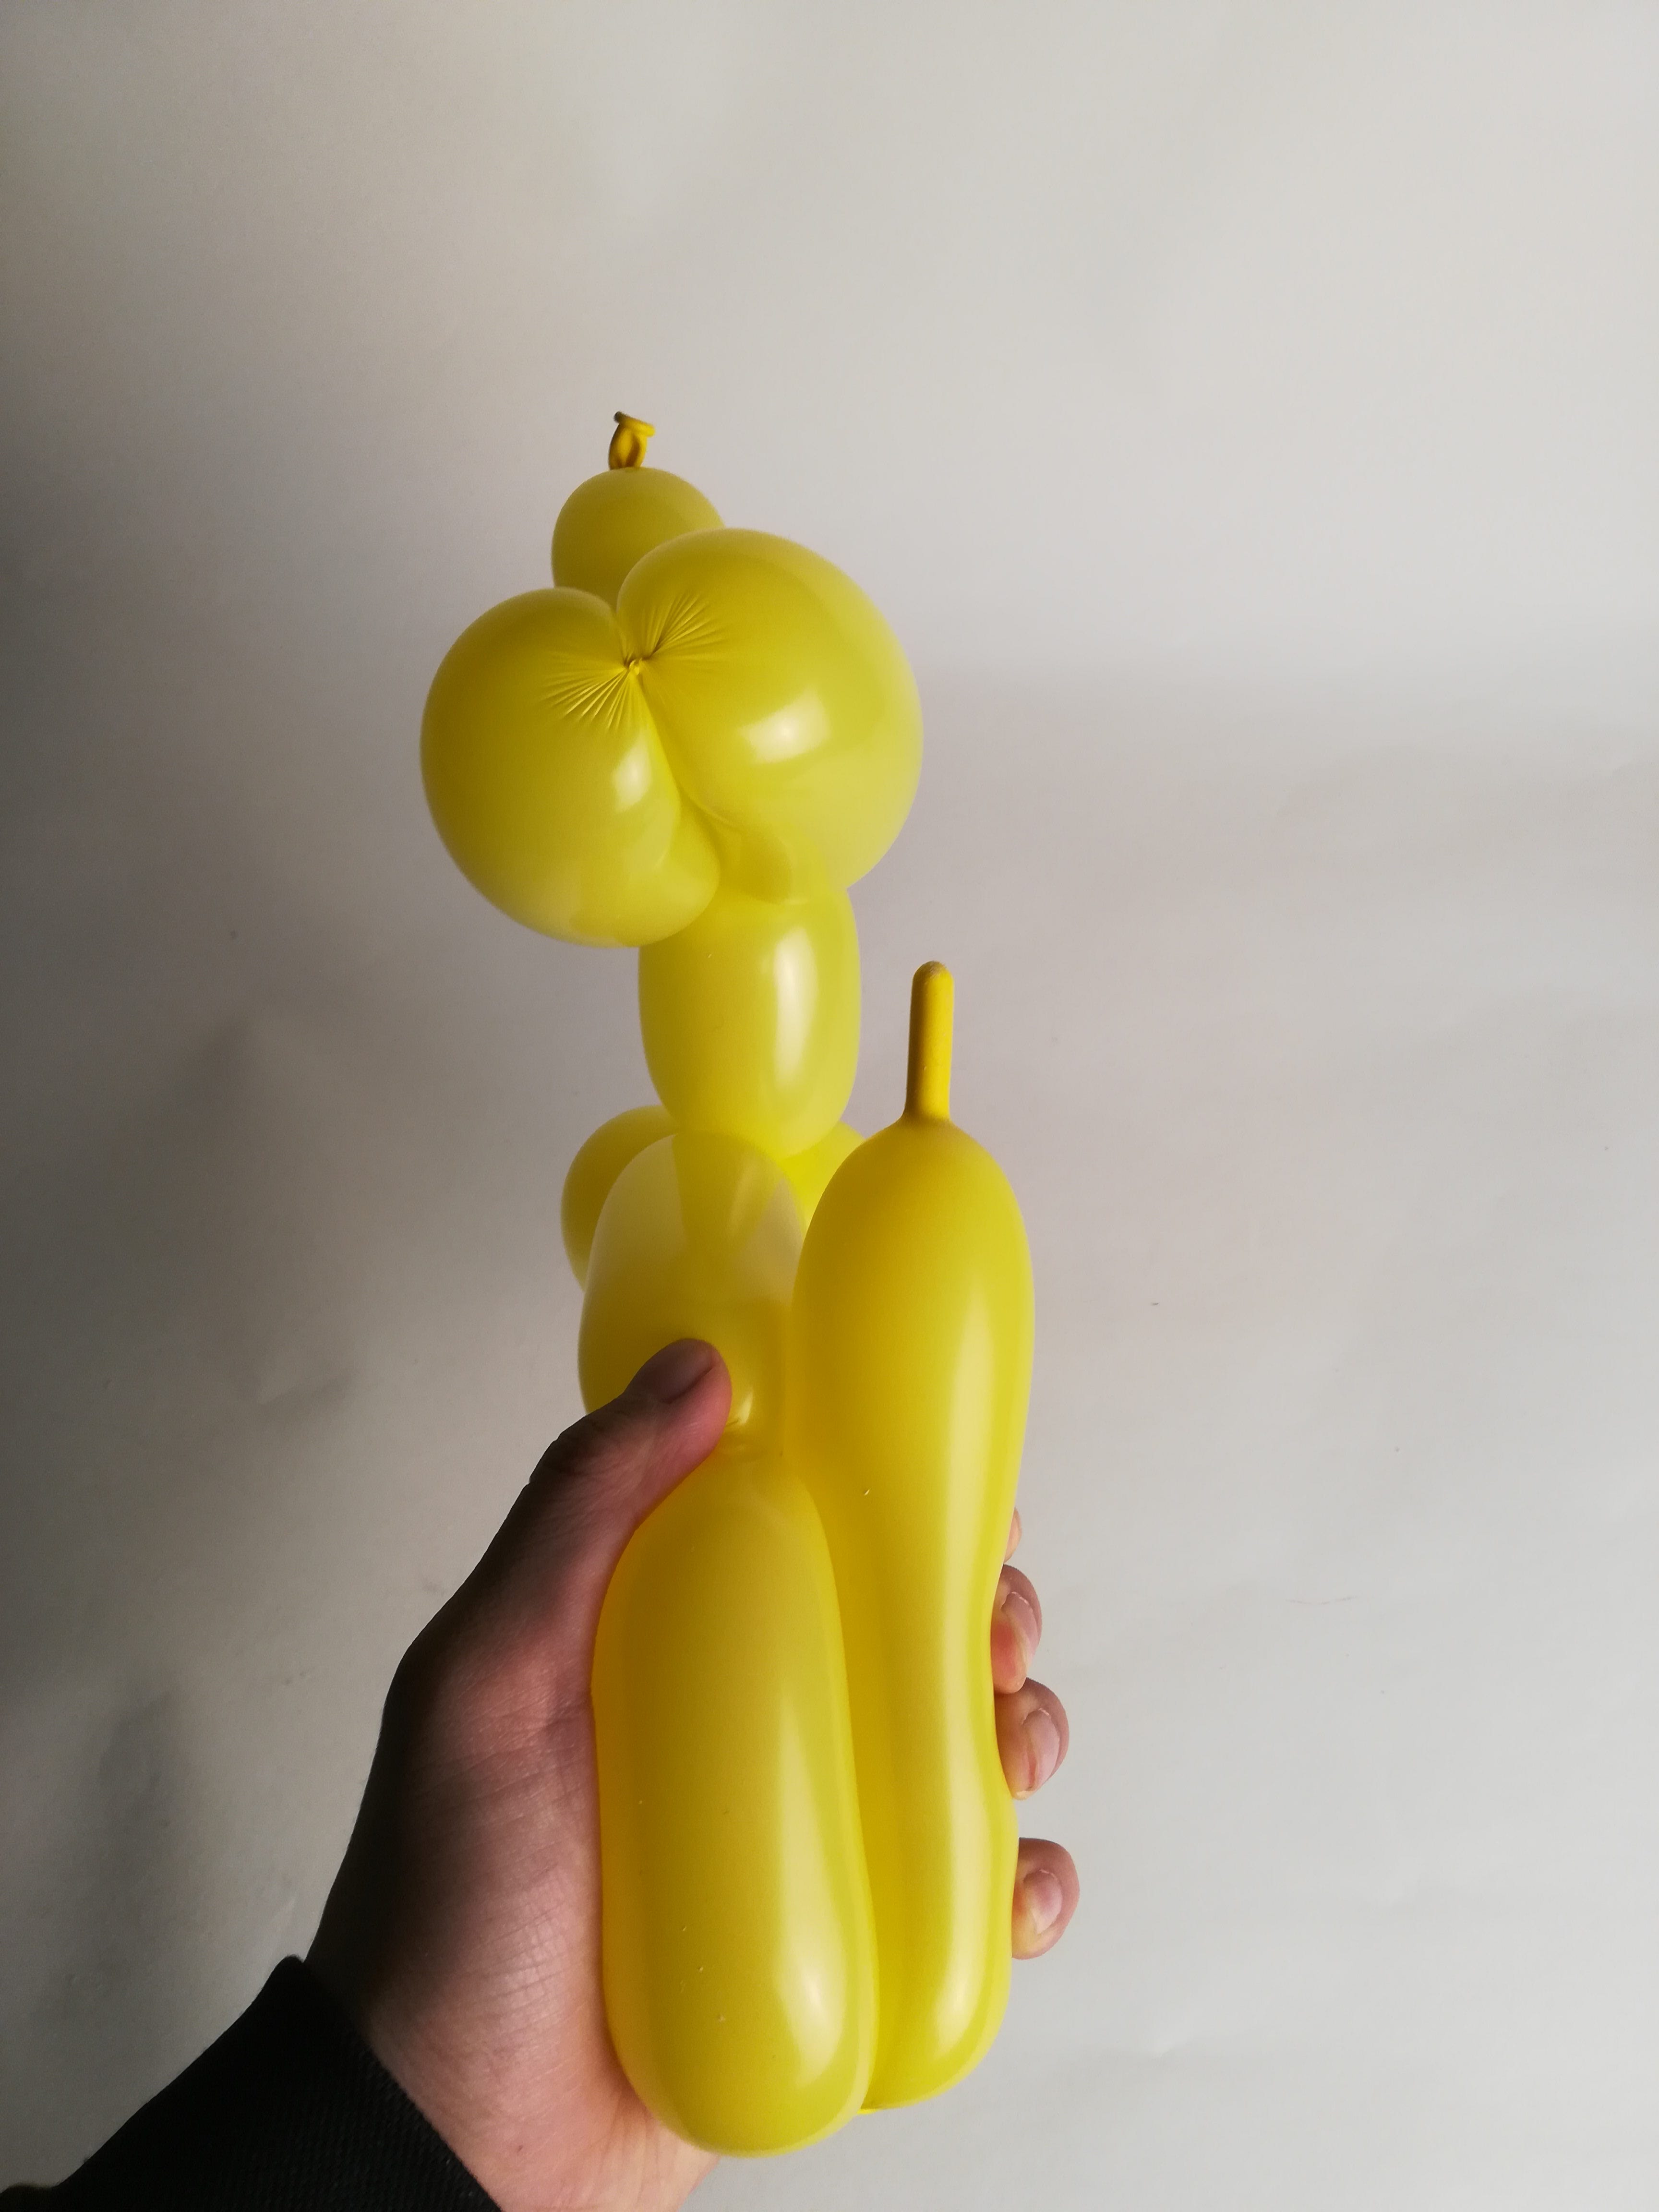
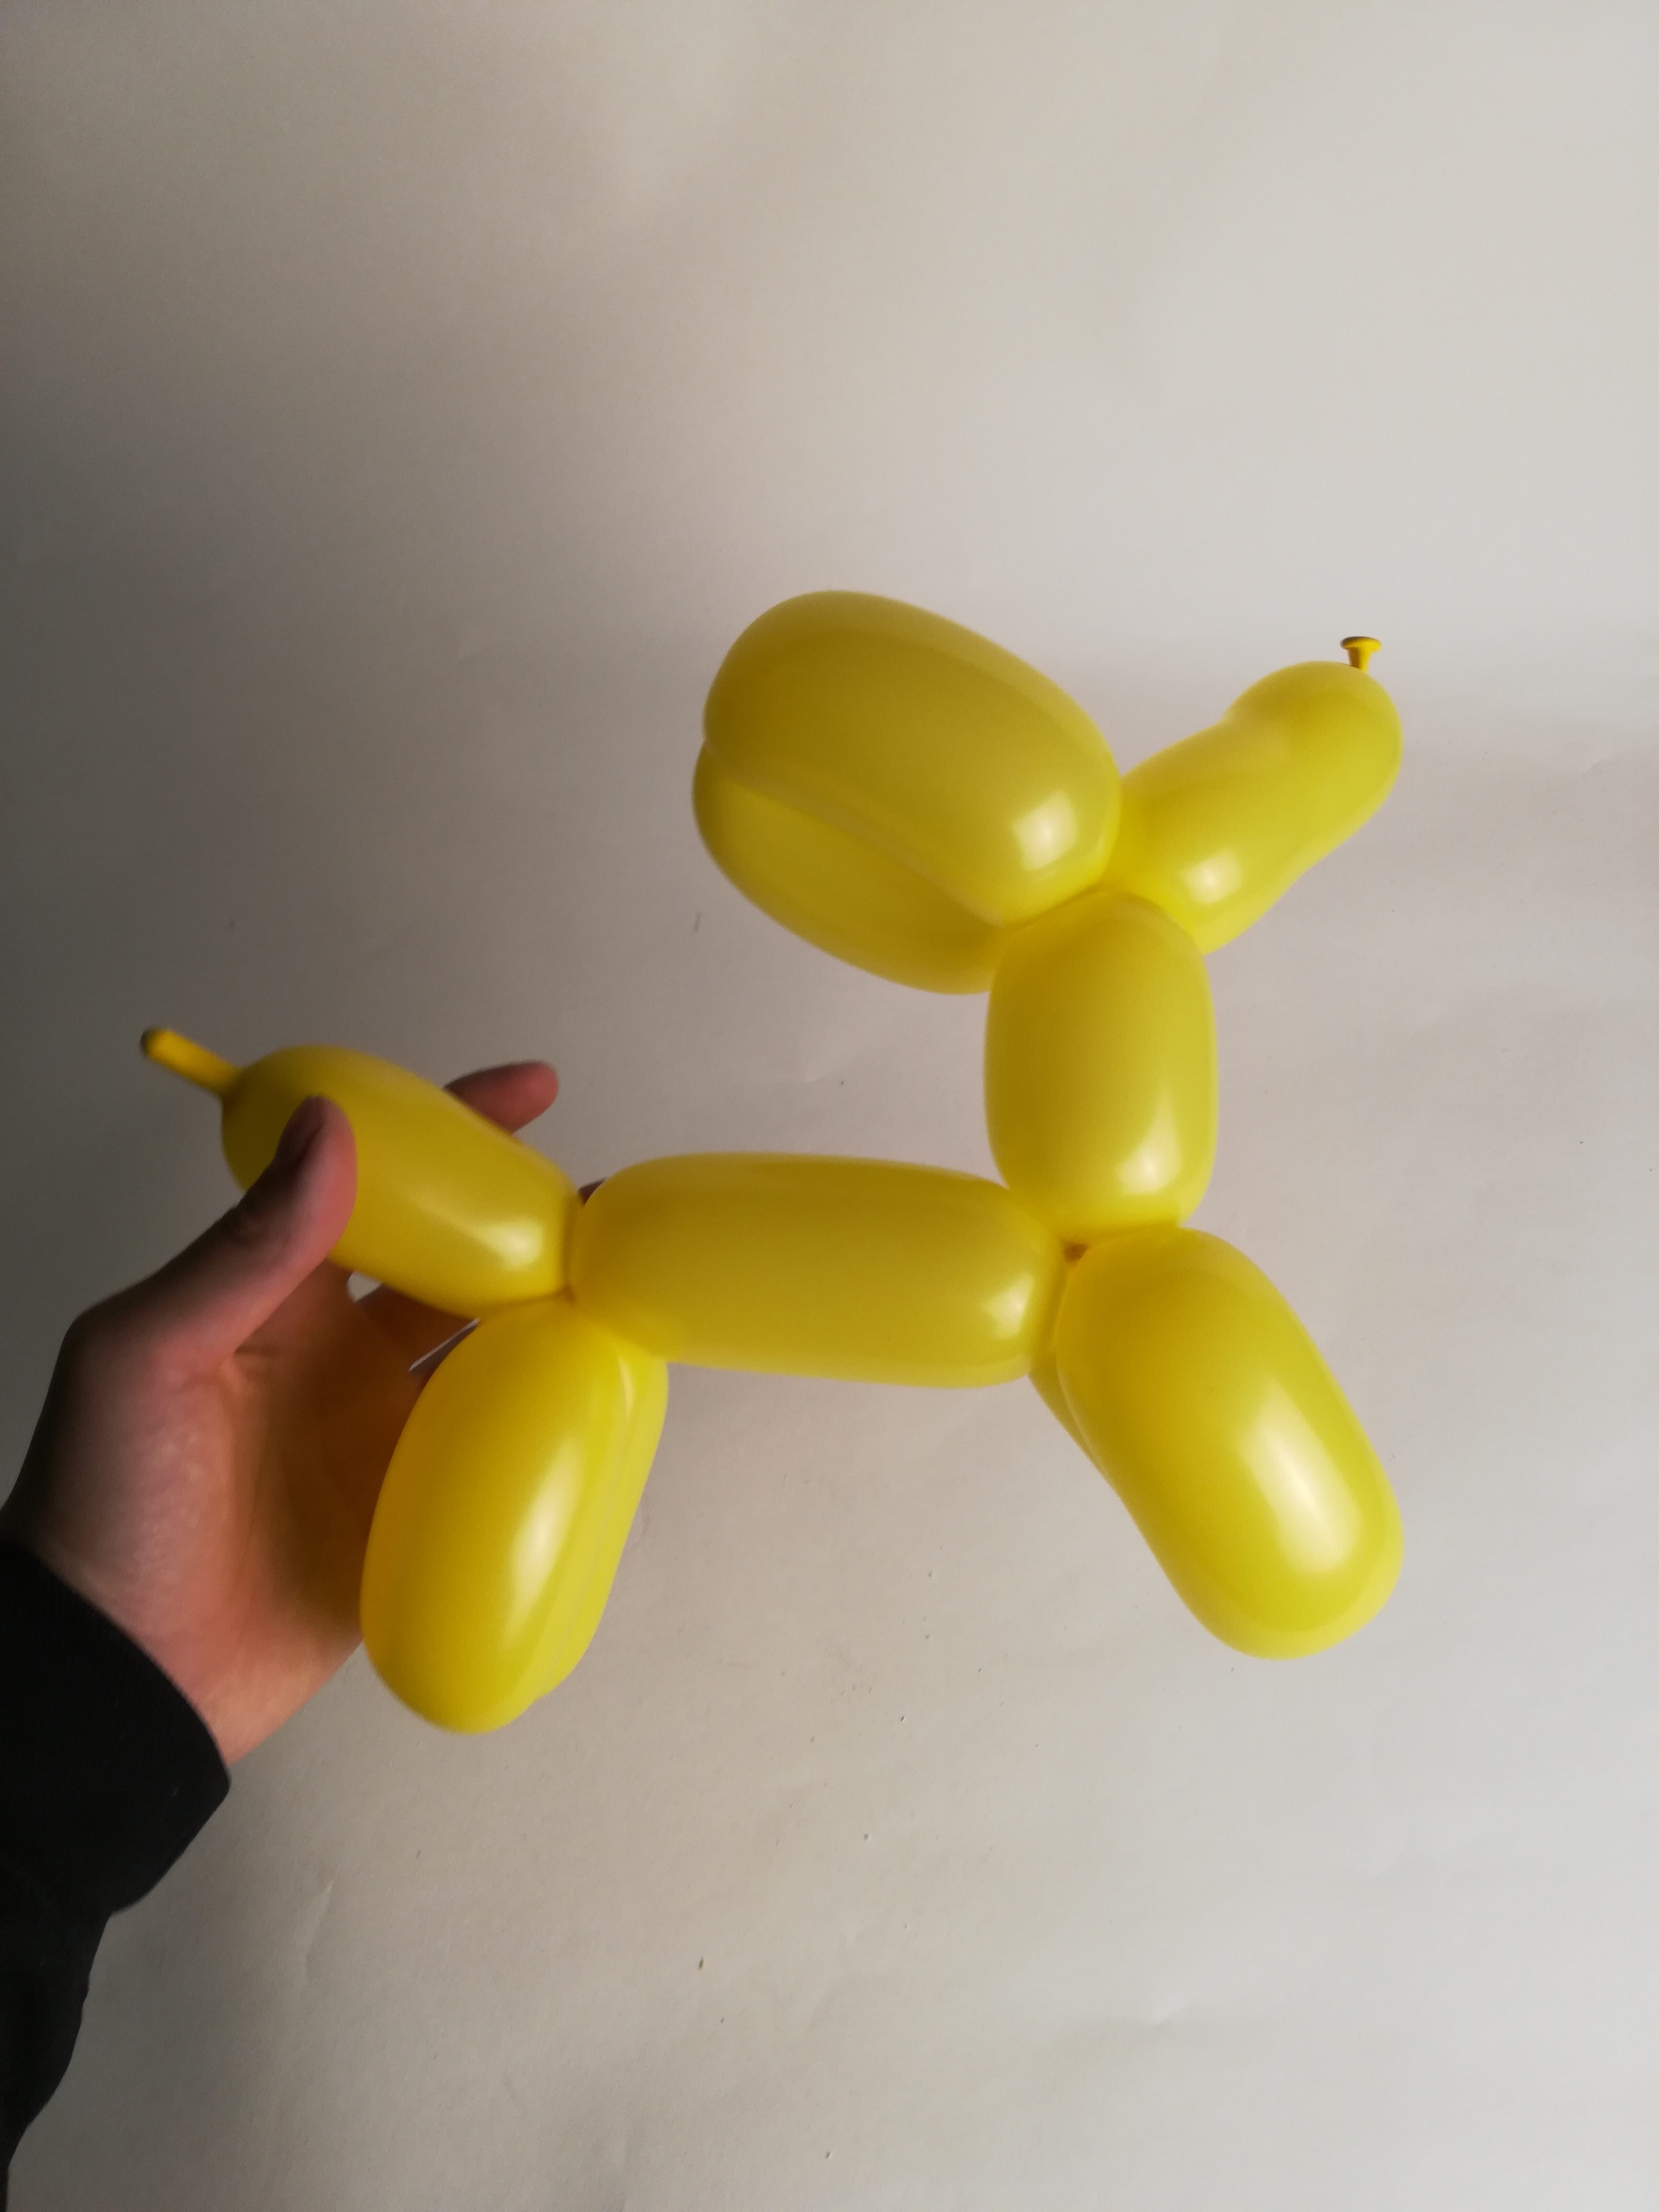
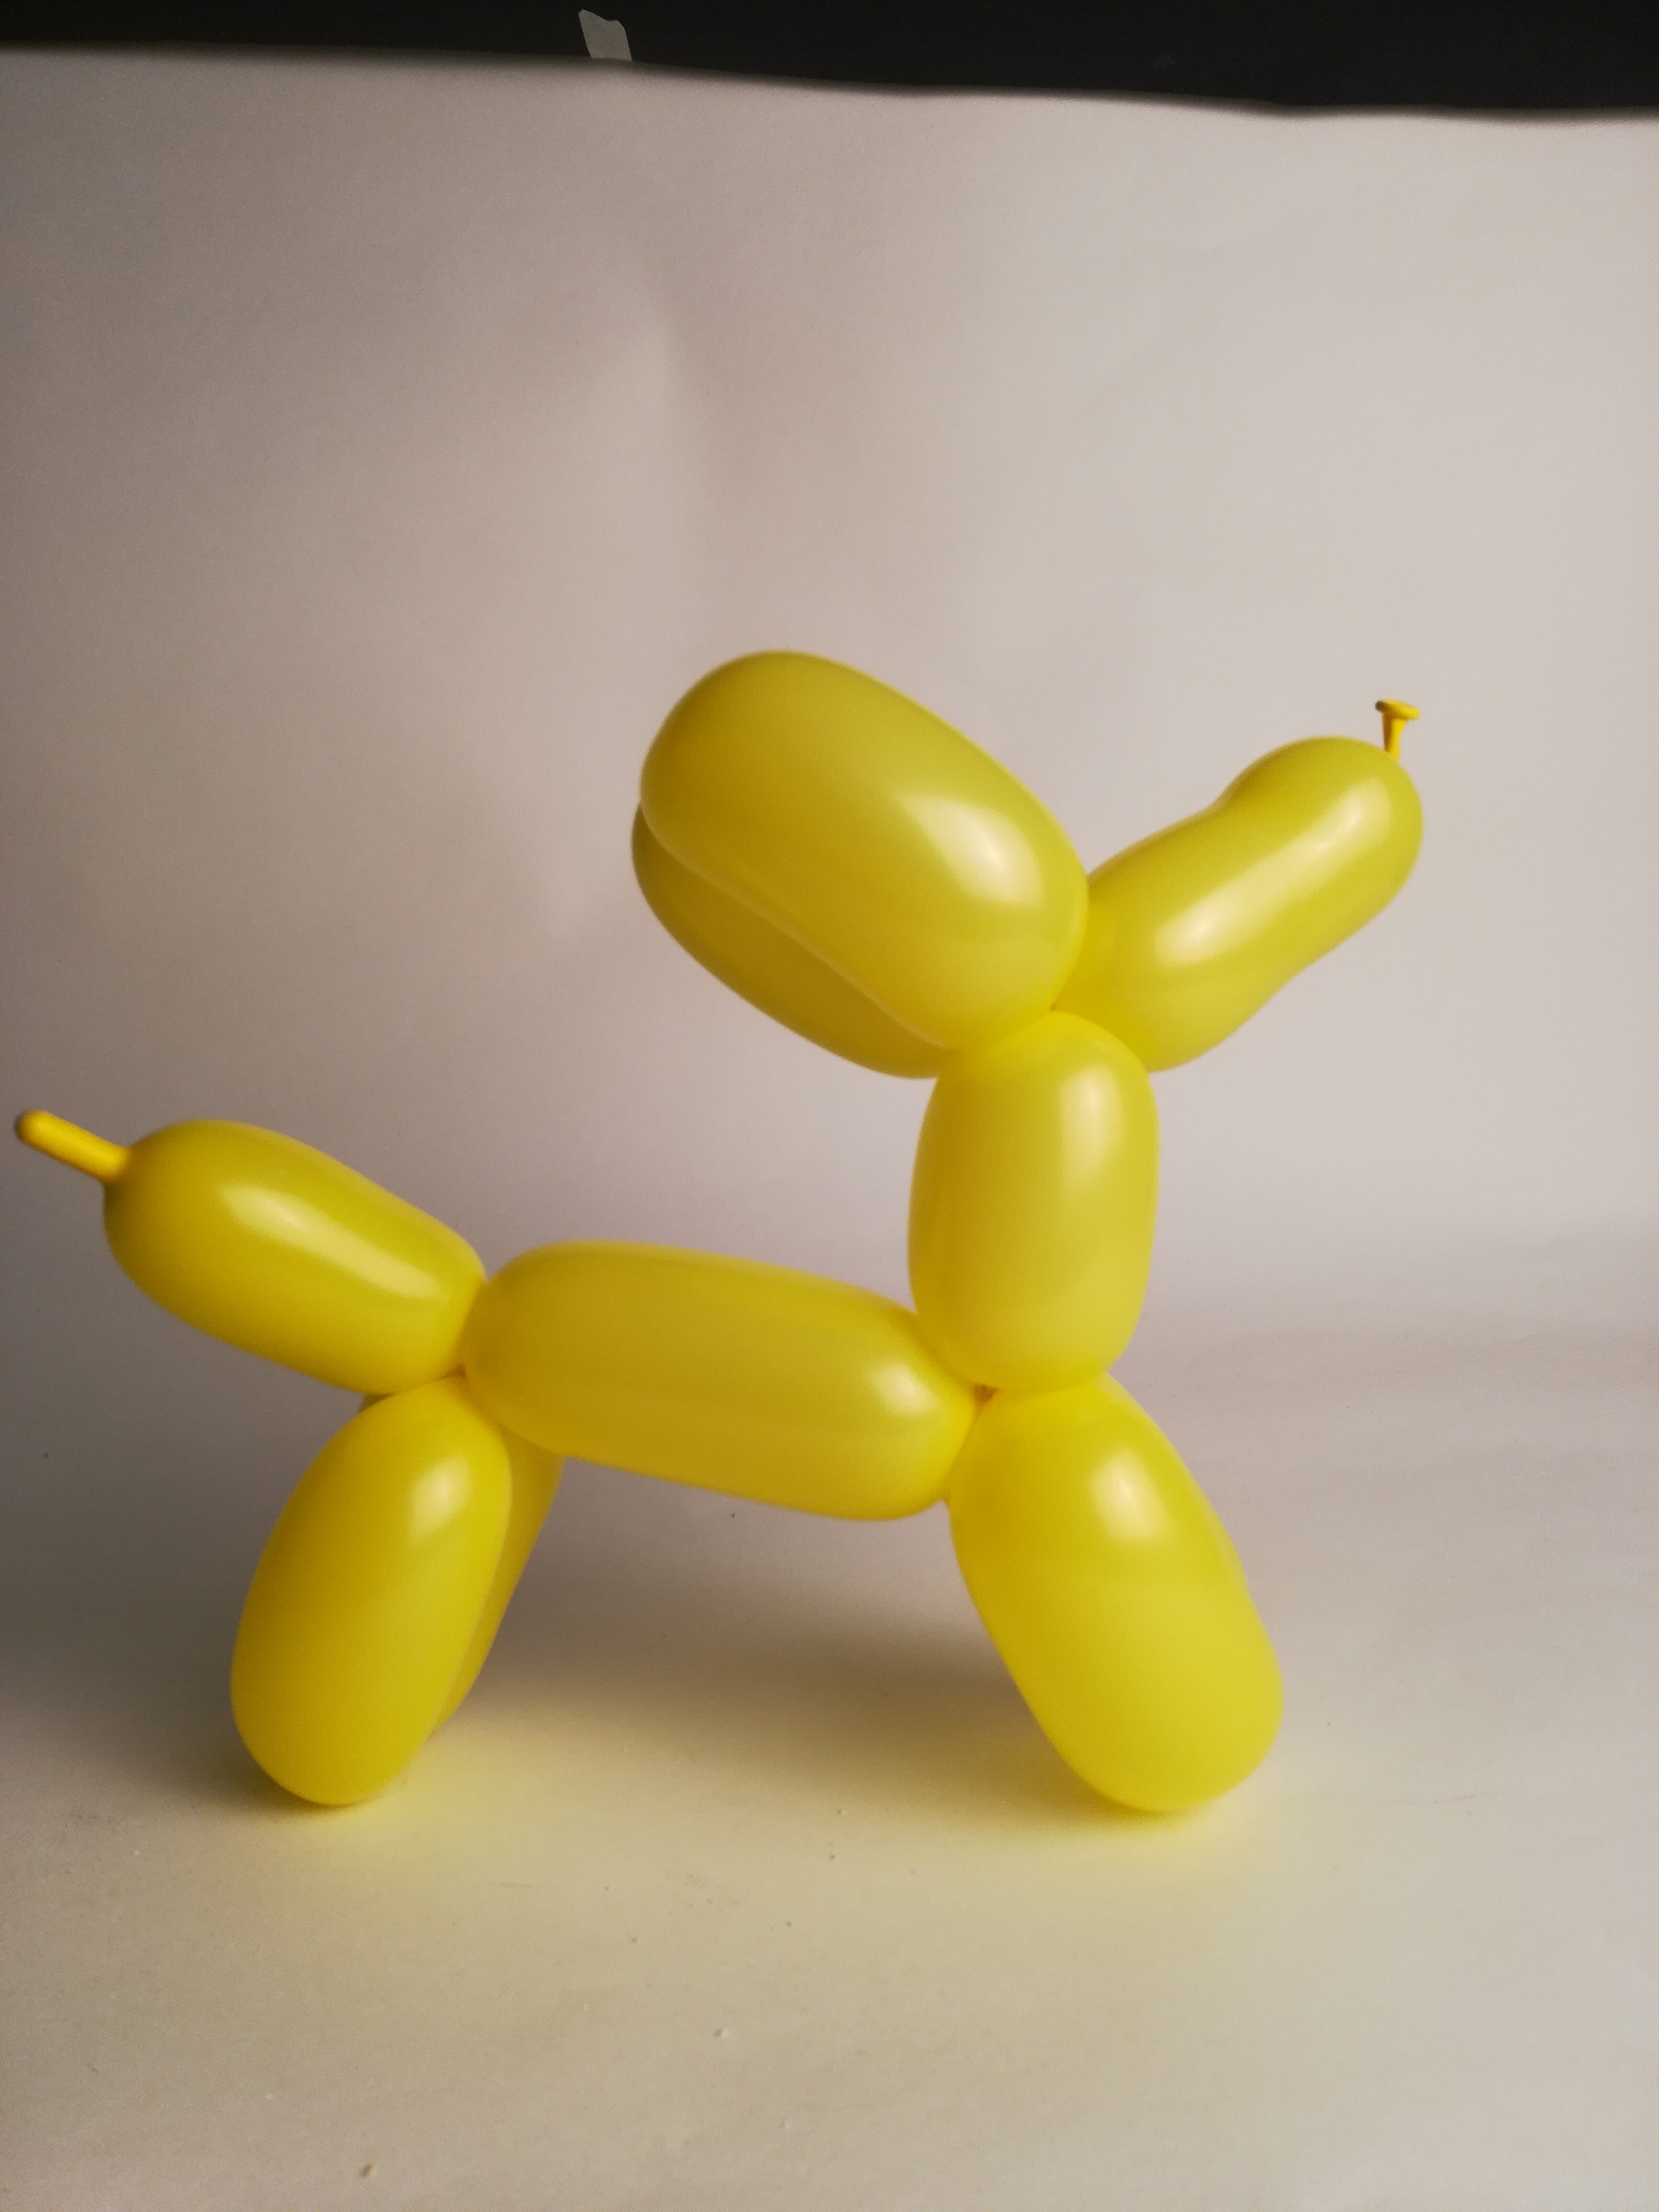
Reflection:
Although, I was able to end up with a roughly accurate dog by the end of my experimentation, I am still not confident in my ability to make my process consistently and intuitively produce a successful dog. As I work on storyboarding and creating my video, I will work on making my measurement process more concrete.
PART II: STORYBOARDING
For 10/24/19, we were asked to create a storyboard detailing key frames in our video.
Objectives: Identify key moments in the video for user understanding, clarify movements and actions, create identifiable process.
Approaching the storyboard creation process, I focused primarily on the capturing the movements and actions involved in the balloon dog creation process. I wanted to capture micro motions like the motion of twisting the balloon, the pumping motion of the hands, and so on. I also tried to capture the flow from one step to the next as well each stage in the dog’s process.
The first step I took was to draw out a very rough storyboard to aid in my thinking process and clarify what I wanted:
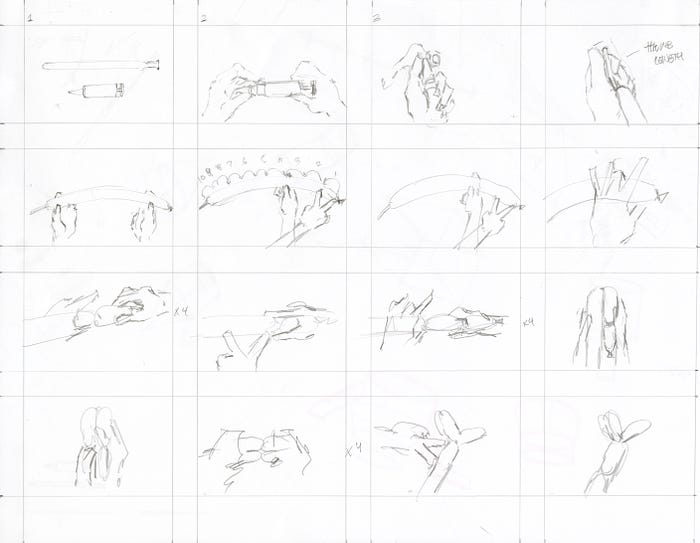
Frames 1–4 detail to progression from the items needed to putting the balloon on the pump.
Frames 5–8 show the proportions of the whole balloon compared to each segment.
Frames 9–12 depict the first three twists in of the balloon dog, which will comprise its head.
Frames 13- 16 complete the head and add on the neck.
The rest of the balloon dog making process, the front and back legs, would be repeating the same process as the head, so I decided to move on to translating my storyboard into a picture format:
Here are the frames broken down into a larger format:


10/24/19, Classroom Critique:
- My storyboard had too many frames compared to others’ (32 vs 20s).
- Others’ focused on the in between stages of the balloon making process than I did. They focused on displaying the static stages of the balloons, whereas I focused on the movements and motions.
Reflection:
To make my story more readable, I realized I needed to think more about how I could “display” each progressive stage to the viewer and position my hands in a way that made my movements more readable.
PART III: VIDEO EDITING RESEARCH
In class on 10/29/19, we were shown a number of videos — movie clips, animations, credits and opening sequences to help think about the video medium and how we could apply animation/live action principles to our instructional videos.
After class ended, I did some research on different video and movie creator that I admired, especially with transitions. Because I knew that my instructional video might be shot against a mostly static backdrop, I wanted to make sure my transitions and flow made sense.
Inspiration Source 1: Every Frame a Painting
The first source I instinctively reached for was the Youtuber “Every Frame a Painting” who analyzes filming techniques, everything from framing to pacing to sound design. Here are the specific videos I was most inspired by:
Watching the Akira Kurosawa analysis, I was inspired by the use of movement in each shot to generate visual interest and directing the viewers eye within a scene.
From the Snowpiercer analysis, I was inspired by the use of the visual cue of looking left or right to signify the main character’s choice at moral junctions in the story. While this type of signaling is not directly applicable to my instructional video, I found the use of the motif useful. After associating a cue with an action maybe in future repetitions of the same action, the cue could imply the action without showing the action itself.
Because my video was largely geometric, due to the straight and curved lines of the balloon, I was interested to see the way that the geometry of framing could affect our perception of what’s on screen and what emotional response.
Inspiration Source 2: Satoshi Kon
Over the summer, I watched a number of movies, one of which was “Paprika” by Satoshi Kon. I was amazed by the fluidity and dream-like quality of his transitions and how every shot flowed into the next in a seamless manner. Even though his work might be too far out for me to directly apply in my instructional video, I wanted to research his work to see what was possible if editing was taken to the extreme.
Satoshi Kon Analysis:
Even though I couldn’t pull off edits on the same scale as Kon, I wanted to be able to carry that spirit on in my work.
Inspiration 3: Casey Neistat
Casey Neistat is a Youtube Vlogger, filmmaker, and multimedia company owner among other things. Although, for the purposes of this assignment, I was mostly interested in his Youtube Vlogs. While I don’t watch his videos regularly, when I occasionally come across one, I am always struck by his frenetic energy and how it is accentuated by his editing style and craft. Because I imagined balloon twisting to also be a chaotic, frenetic process, I looked to Neistat’s videos to try to better understand the technique behind his energetic vibe.
PART IV: VIDEO CLIPS
For 10/29/19, we were asked to bring in a video clips that might make up the final product.
Objectives: Translate the ideas of the storyboard and in my head into the video format, start working on the pacing of the movements and the shots, test out the top down camera angle, explore balloon colors
During this round of recording, I focused especially on the movement between each stage and each movement I made. I wanted the video to flow naturally and I wanted to get rid of the choppiness that I feared might make my video confusing.
Although we were only asked to bring clips of our process and not a full video, I decided my filming process would be to take a video of the entire process then edit clips out of the full video. I wanted to create as much consistency as possible in the way the video flowed.
I also decided to stick with the top down point of view. Watching other tutorials during my research, I noticed that most of the videos I watched filmed framed the balloon making process from a third person point of view, as an observer of the process. I wanted to lessen the distance between the viewer and the tutorial, recording from a first person point of view. I felt that viewers would more easily read my movements and connect them to their own body.
Video Capture setup:
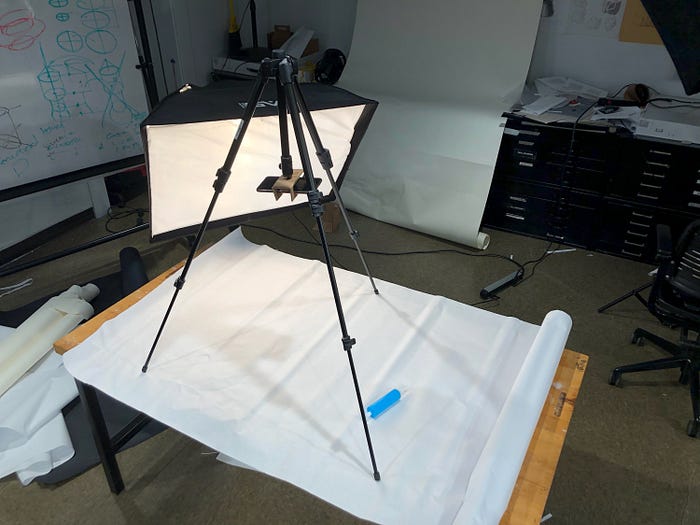
I decided on a white backdrop to avoid any interference with the balloon or my hands. I also tried to use a more neutral diffused light to soften shadows.
To fix my phone to the tripod, I created a cardboard attachment that took advantage of the knobs at the bottom of tripods:


Unedited video clip:
Edited Video Clip:
The following day, during class, we divided into two groups and watched the videos while we received feedback from our peers and TAs.
Video Feedback:
- Using the “two finger method” to measure the lengths of the segments was too inconsistent. To ensure a more consistent and universal measurement use hand lengths instead.
- The video was too zoomed in in the current state. It’s difficult to gauge the size of length and proportions of the balloon segments because everything is too close.
- The color saturation of the video is slightly off, giving my hands a reddish tinge. Also, the shadows cast by my hands and the tripod are distracting.
- Perhaps showing the completed balloon dog in the beginning might give the viewer an idea of what the item being created was.
Reflection:
I need to work out the the setup I use to film to capture better footage. I need to eliminate lighting issues, color and saturation, and framing/camera angle.
PART V: FULL VIDEO
For 10/31/19, we were asked to take what we learned from the short clips we had created to synthesize a full video of the process.
Objectives: to use movement and editing to reduce the jarring effects of transitions from action to action, to address some of the lighting issues and framing issues that had been present in the last video, to create a cohesive story, to create a coherent pace for the video
Taking into account the feedback I received in the first critique, I decided to switch up a number of factors in my video creation process:
- Zooming out to provide a greater sense of scale and to give the video “breathing room.” The previous version felt too close and clustered.
- Using a blue balloon instead of a pink balloon to contrast the reddish tone of my hands.
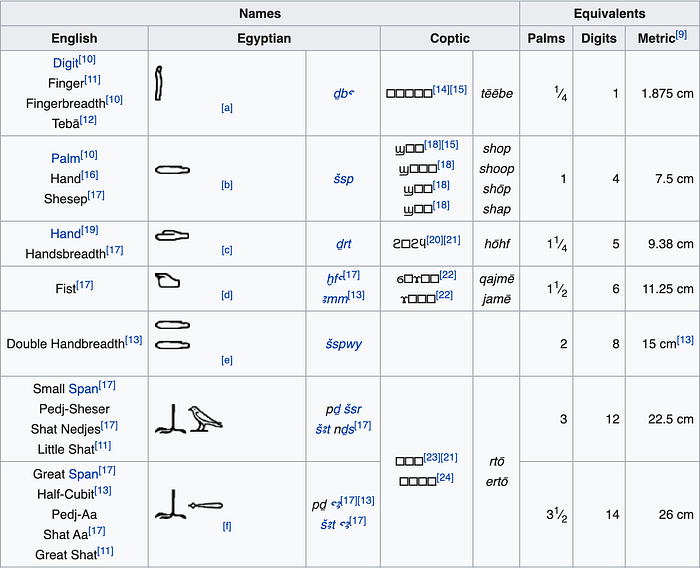
- Switching from using two fingers to measure each segment to using a hand width. Interesting side note: Ancient Egyptians used a measurement system originally based off of hand lengths and widths. Measurements include the fingerbreadth, palm, handsbreadth, double handsbreadth, and so on. The metric equivalent of their handsbreadth is 9.38 cm … which is almost exactly the width of my own hand! So in a way, I can say I’m drawing from their legacy.
Video Setup:

Edited Video:
Editing Process:
During the editing of this video, I paid closer attention to using movement and pacing in my cuts to make the cuts look more natural. Because my background and setting never changed, and my hands/balloon took up so much of the frame, I felt that cuts that might have been acceptable in other contexts would be jarring in mine.
Specific Cuts:
- In this cut, I wanted to kill two birds with one stone. First, in the filming process, I found it difficult to pull the end of the balloon through the knot in an elegant and timely manner. I also wanted to create a dramatic moment with the snap of the knot back to secure it. By transitioning with the movement of pulling back the knot, I tried to create a cleaner transition while retaining the same meaning.
- For more jarring transitions like the twisting motion to the presentation of the next intermittent stage of the balloon, I tried to use small movements to draw the eye of the viewer in a more natural way into the next frame. In this example, I slightly moved the balloon farther from the viewer.
Video Feedback:
- The video’s shadows were slightly less distracting, but the shadow of the tripod was still visible. The shadows on the hands were also very dramatic and slightly distracting.
- The background’s folds were a little distracting. Because I was using thin butcher paper, there was a slight transparency to the paper and the wrinkles stood out in a way that made the video seem a little unprofessional.
- The camera angle was still slightly too close.
PART VI: FINAL VERSION
For 11/05/19, we were also to bring in our final version of our instructional video, respond to previous feedback and bring everything together.
Objectives: resolve all remaining issues from previous feedback, make video comply with all technical requirements, compile the strengths of all previous versions, nail down the pacing of the video
In order to resolve problems that remained in the previous versions I decided to take the following countermeasures:
- Filming at Porter Hall instead of at studio to take advantage of a quiet space and more consistent ambient light.
- Using a solid background, a table, to provide a more consistent texture and shade of white.
- Additionally, because my previous videos were 1 minute and 21 seconds and 1 minute and 9 seconds long respectively, I decided to draw out a timeline from my experience filming and editing my previous versions to inform my filming process:

Video Setup:

Note: because of the smaller dimensions of the table, I used desks to support the tripod to keep it out of frame.
Un-cropped Version:
4:3 Aspect Ratio Version:
During the filming process for the final version, I made a few mistakes that I didn’t catch until it was too late. Firstly, the angle was still too close. When cropped into a 4:3 aspect ratio, I lost a lot of the space I was relying on to make the framing less stuffy and more readable. I also had trouble getting a clean image, even after 5 attempts, my video clips still came out fuzzy and unfocused in many places.
Specific Cuts + Other Editing Considerations:
In the construction process I found that the steps for making the three portions dog, head, front legs, and back legs, were actually all the same. To create a sense of consistency, I made the timing and framing of each shot within each step as similar as possible.
Head/Front/ Back Macro Scale:
- Each section had the following steps: Hand Measurement -> 1st Twist -> 2nd Twist -> Fold -> Present Folded -> Lock Twist
- Hand Measurement: ≈2s
- Basic Twists: ≈3–4s or 3–4 twists
- Presenting the folded section: ≈2s
- Lock Twist: ≈3s
Head/Front/Back Micro Scale:
- Hand Measurement: I considered different hand movement methods: bouncing my hand, sliding my hand, and having a longer pause. Ultimately, I chose to use the method of flipping my hand across the balloon because I fount it introduced the next shot the best.
- Twisting Motion: to keep the motion of each twist distinct and to better orient the viewer, I exaggerated the initial turn of each twist. I found that if I didn’t make that motion distinct, it was hard to tell where each action started and ended. I also limited each twist to 3–4 twists to create a repeating rhythm.
Acoustically, I tried to edit the alternation between the louder twisting segments and the silent folding/presenting segment to create a rhythm between noise and silence to add a sense of pacing to the video.
PROJECT REFLECTION:
Coming out of the final version of this project, I was honestly a little disappointed with my final product. I felt that I wasn’t able to fully resolve some of the problems that I encountered in the filming process, specifically, framing and video quality. However, I really enjoyed the editing process and learning how to use movement and pacing techniques to make a video more readable and enjoyable. I also found it interesting to wrestle remove myself from my role as the creator of the video and to view my video from an objective perspective.
